Step 1: Select a Location
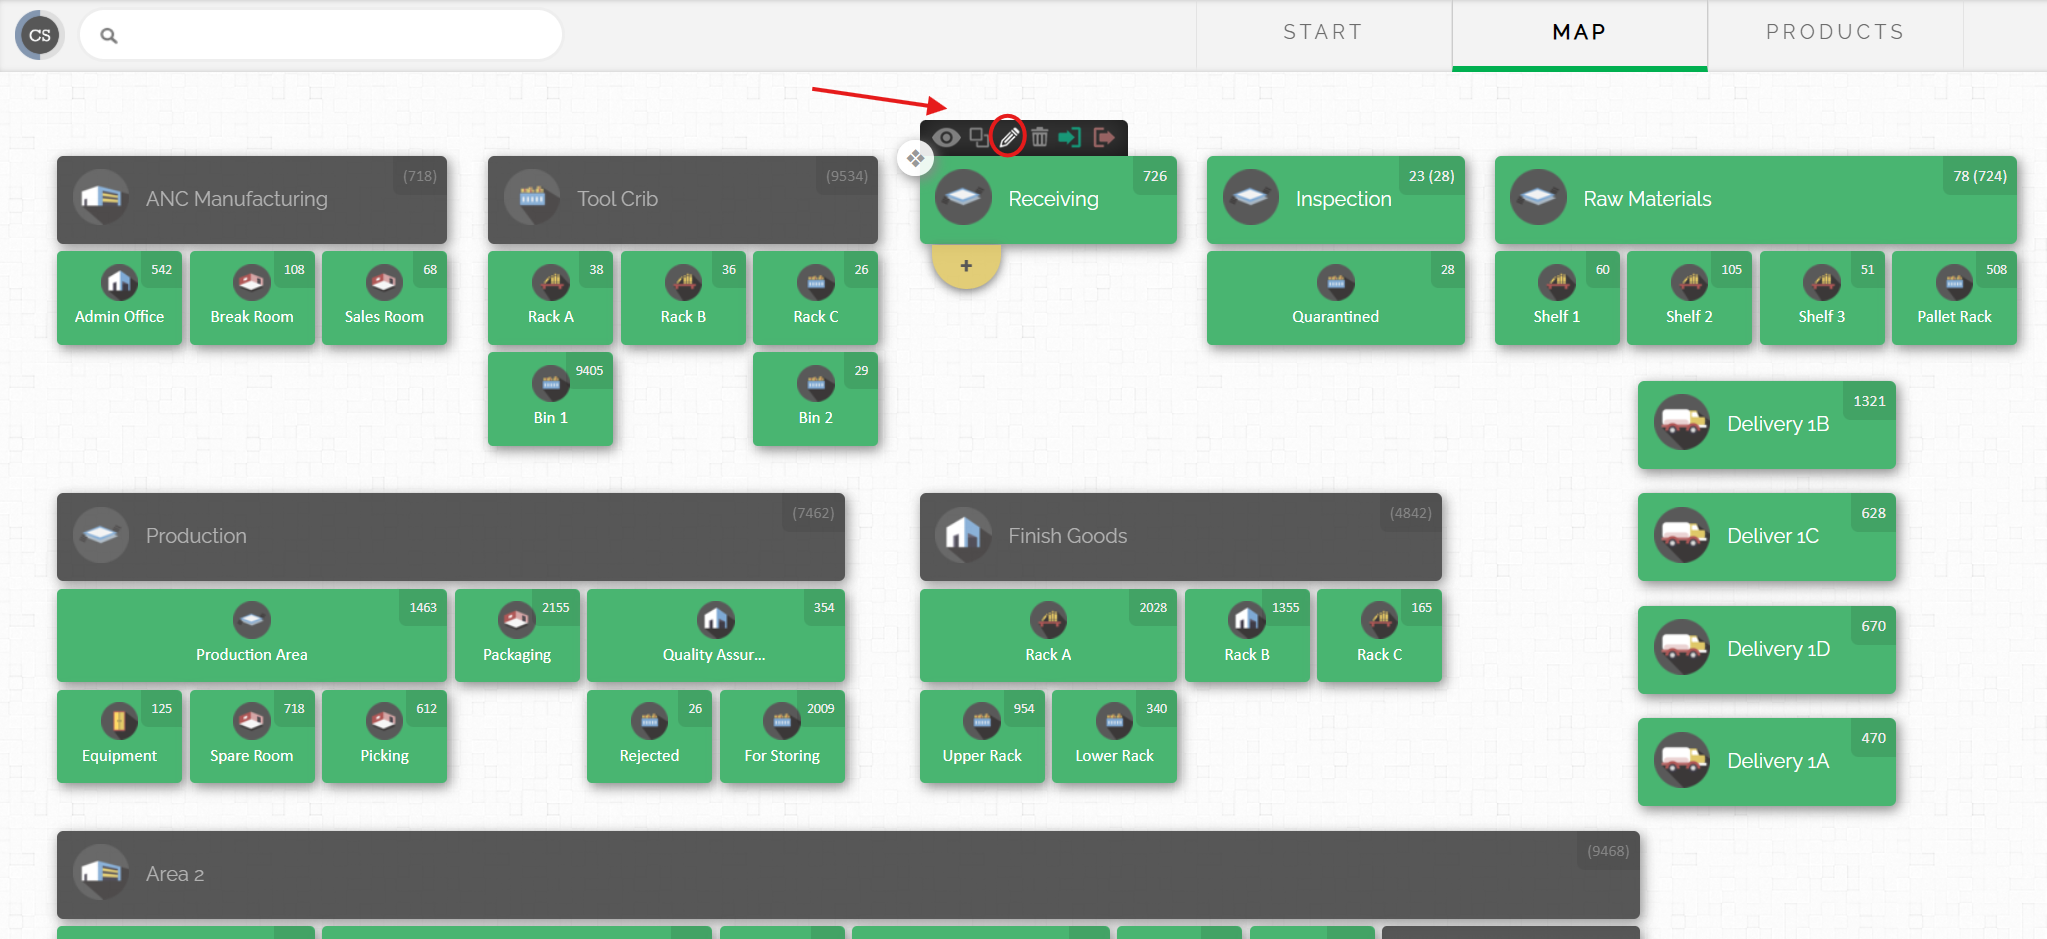
Select the location on the map that you want to set up as a kiosk.
In the example below, the Receiving location is selected.
Step 2: Open the Location Options
Hover your cursor over the location until the small action icons appear above it.
Step 3: Edit the Location
Click the pencil icon to open the location editor.
Step 4: Choose the Kiosk Type
At the bottom of the window, select one of the following kiosk options:
Check In to set the location as a check-in kiosk
Check Out to set the location as a check-out kiosk
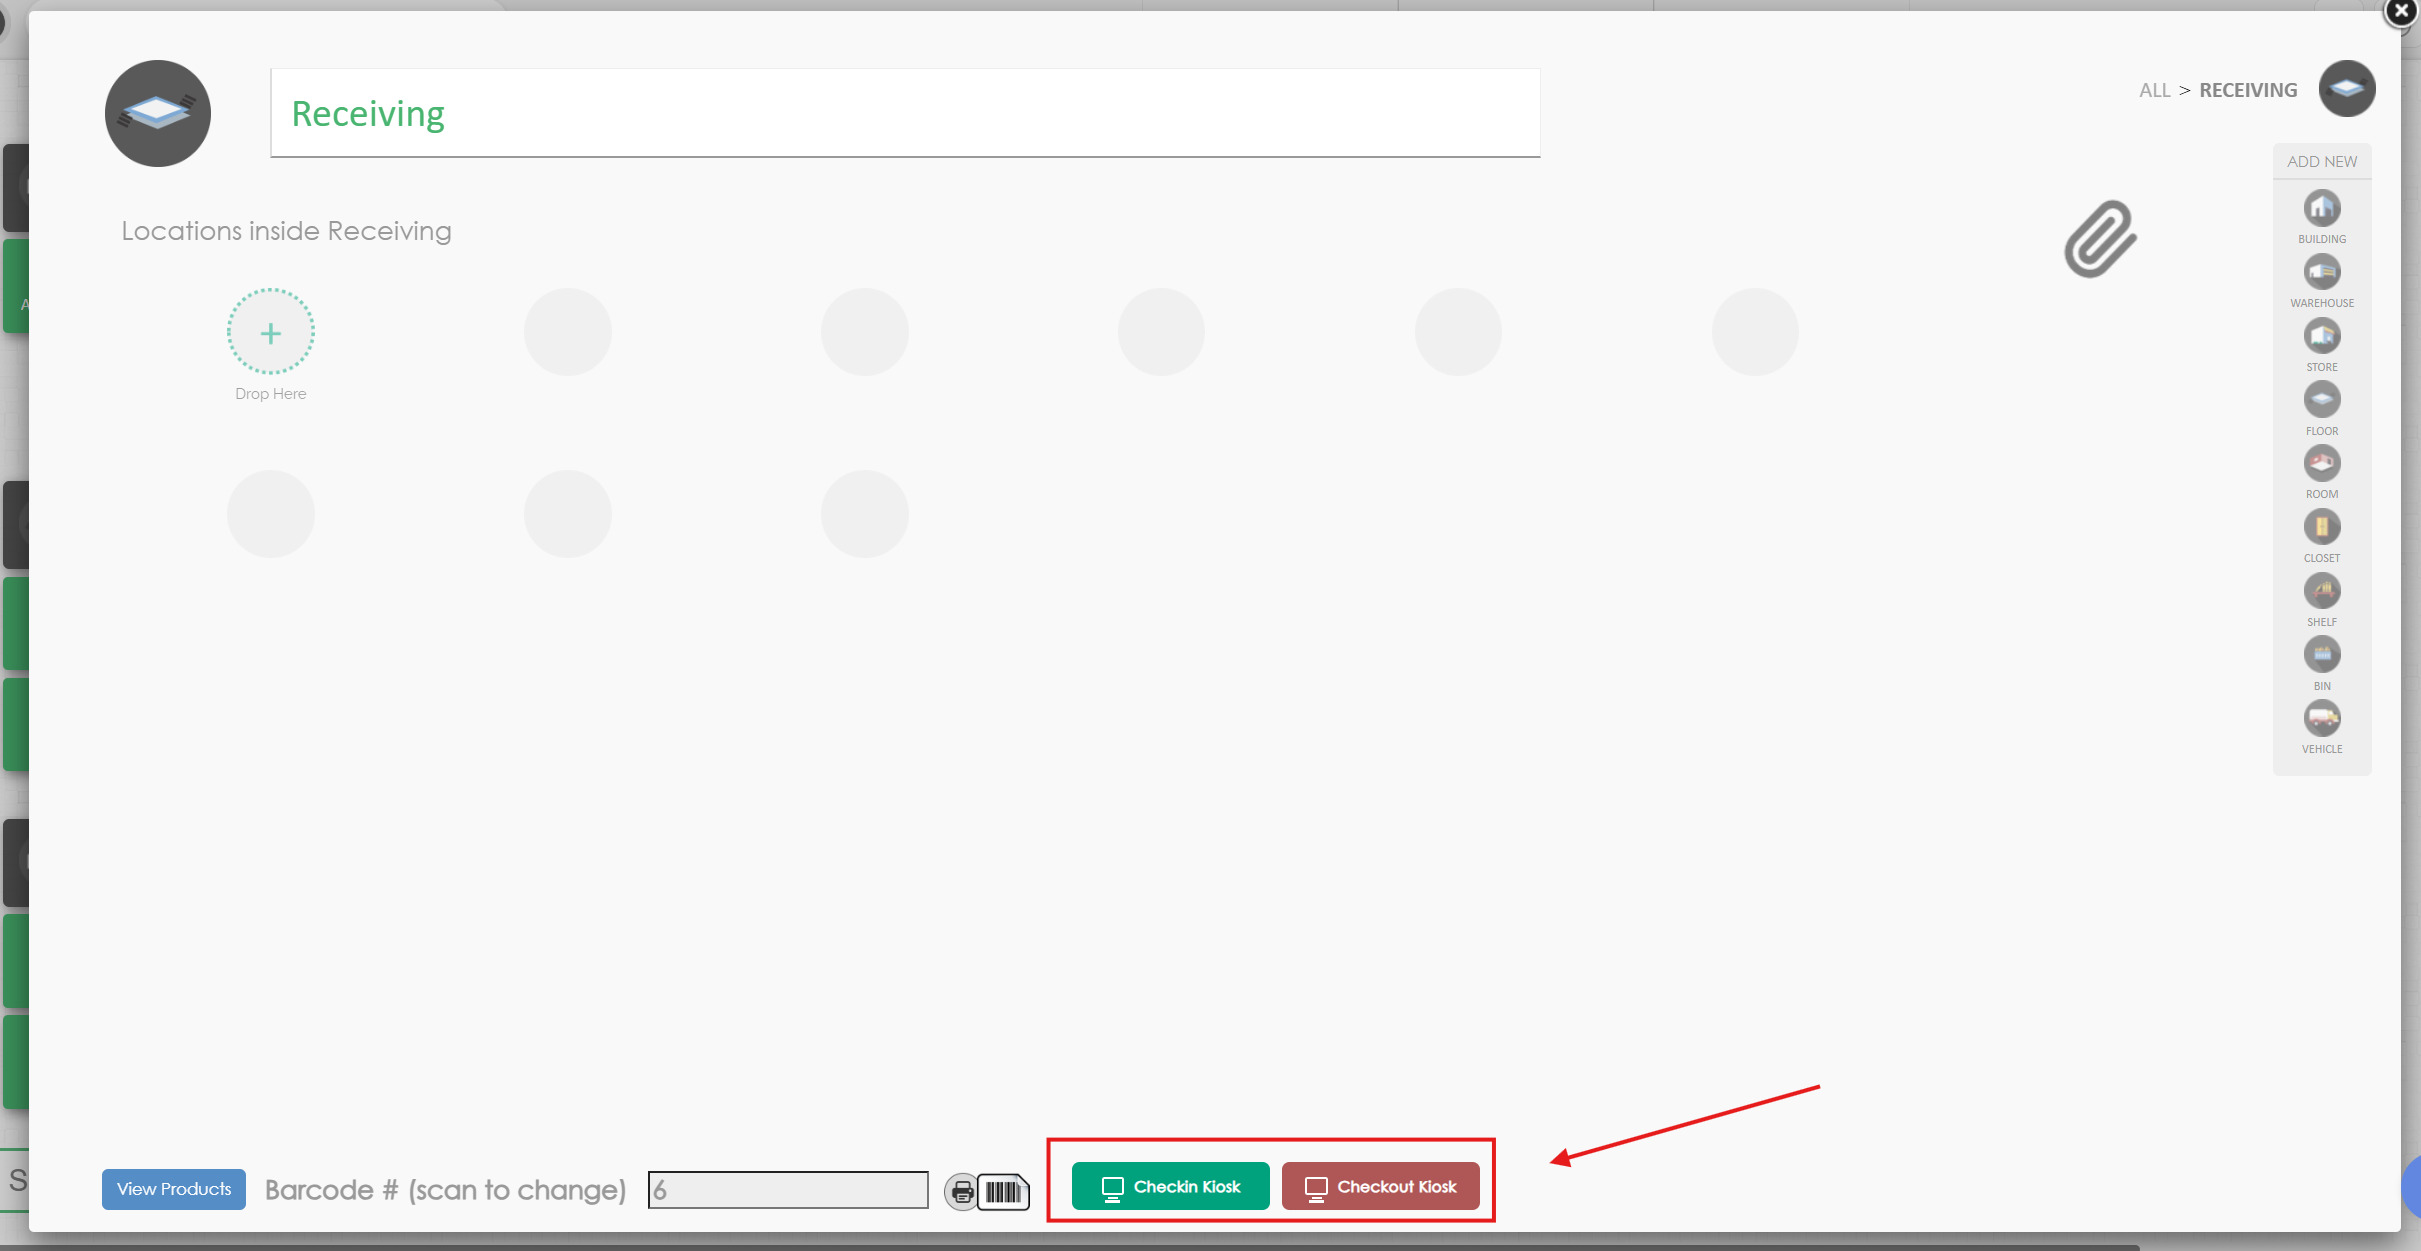
Once selected, products scanned with a barcode scanner will automatically be checked in to or checked out from that location
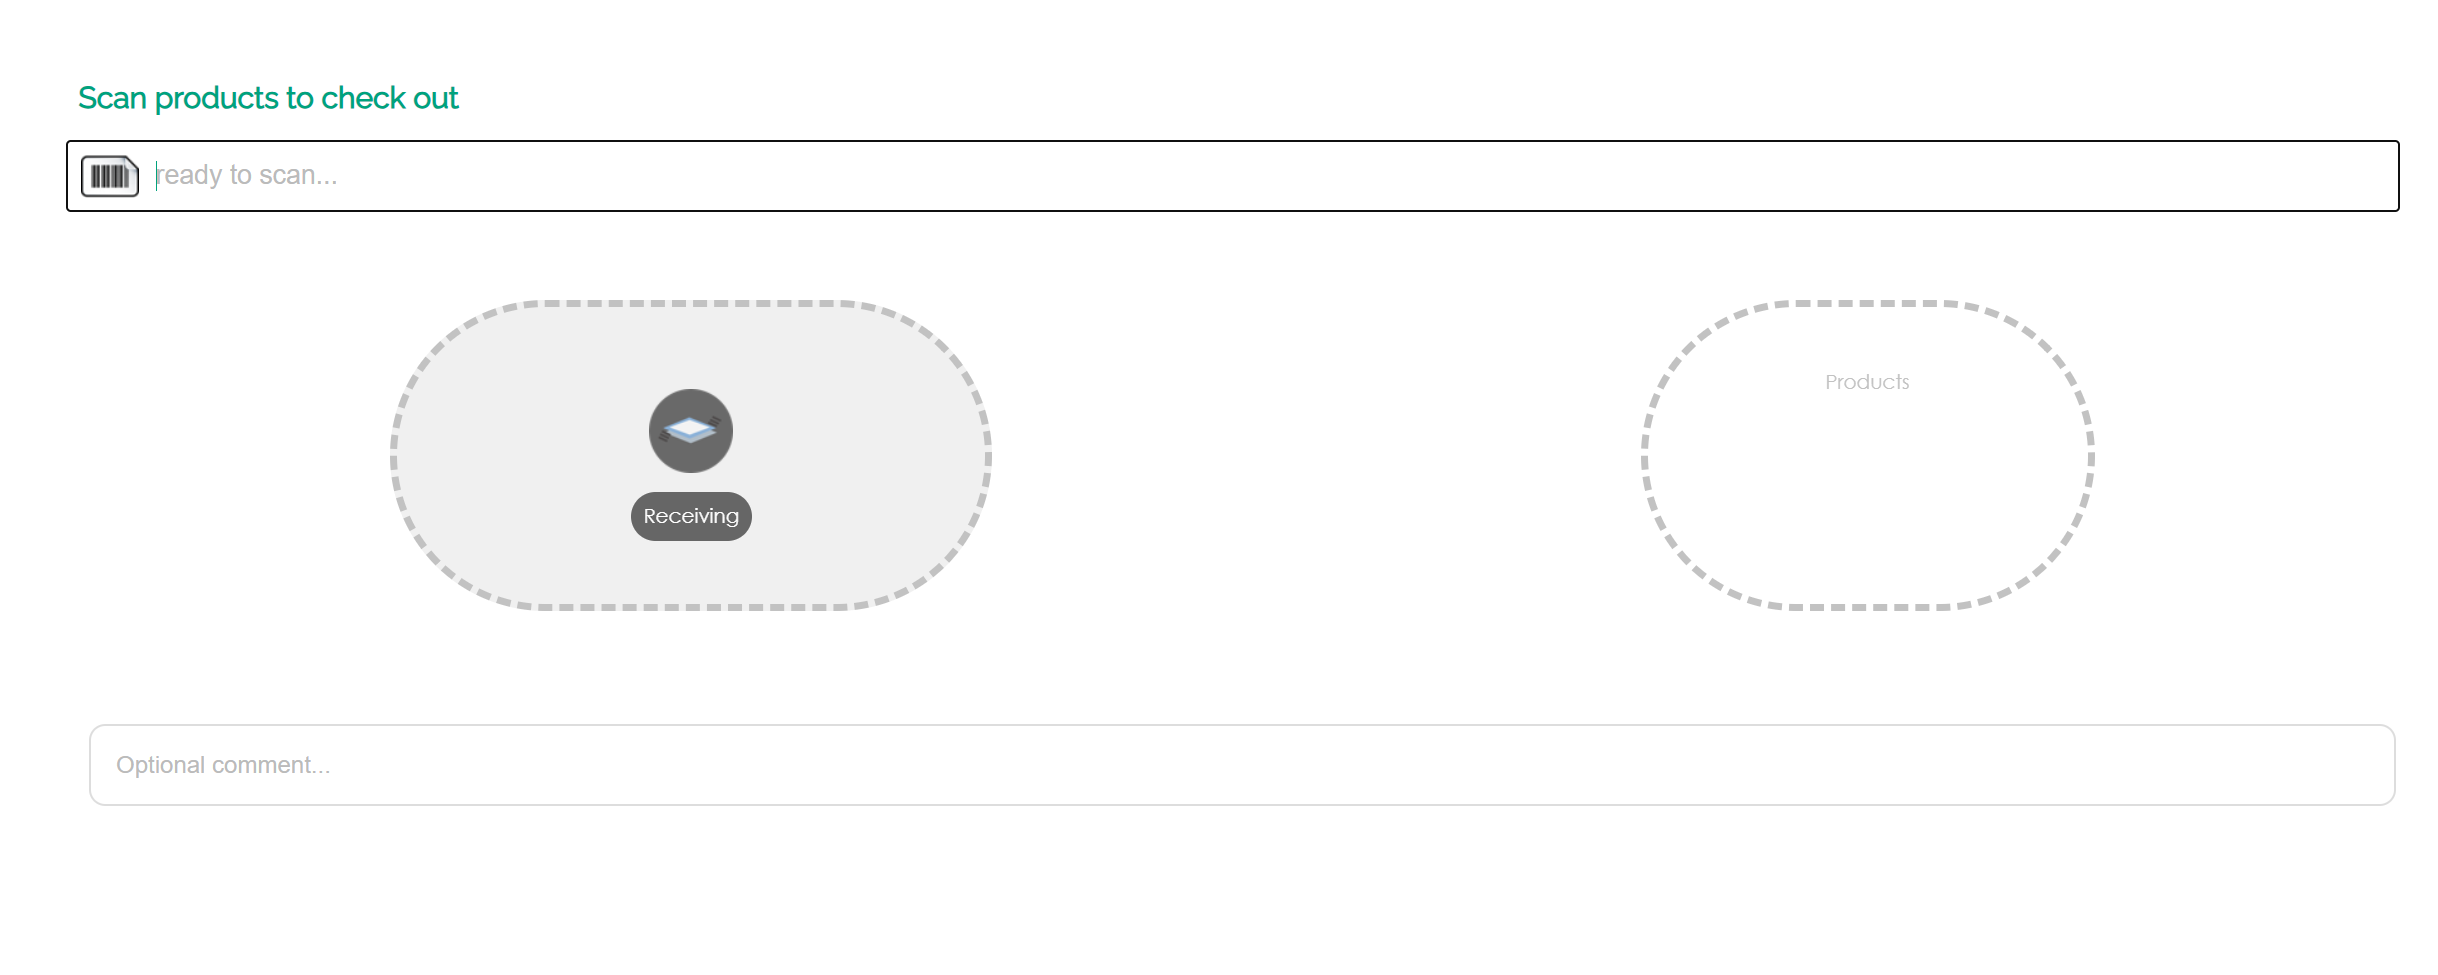
Check in kiosk
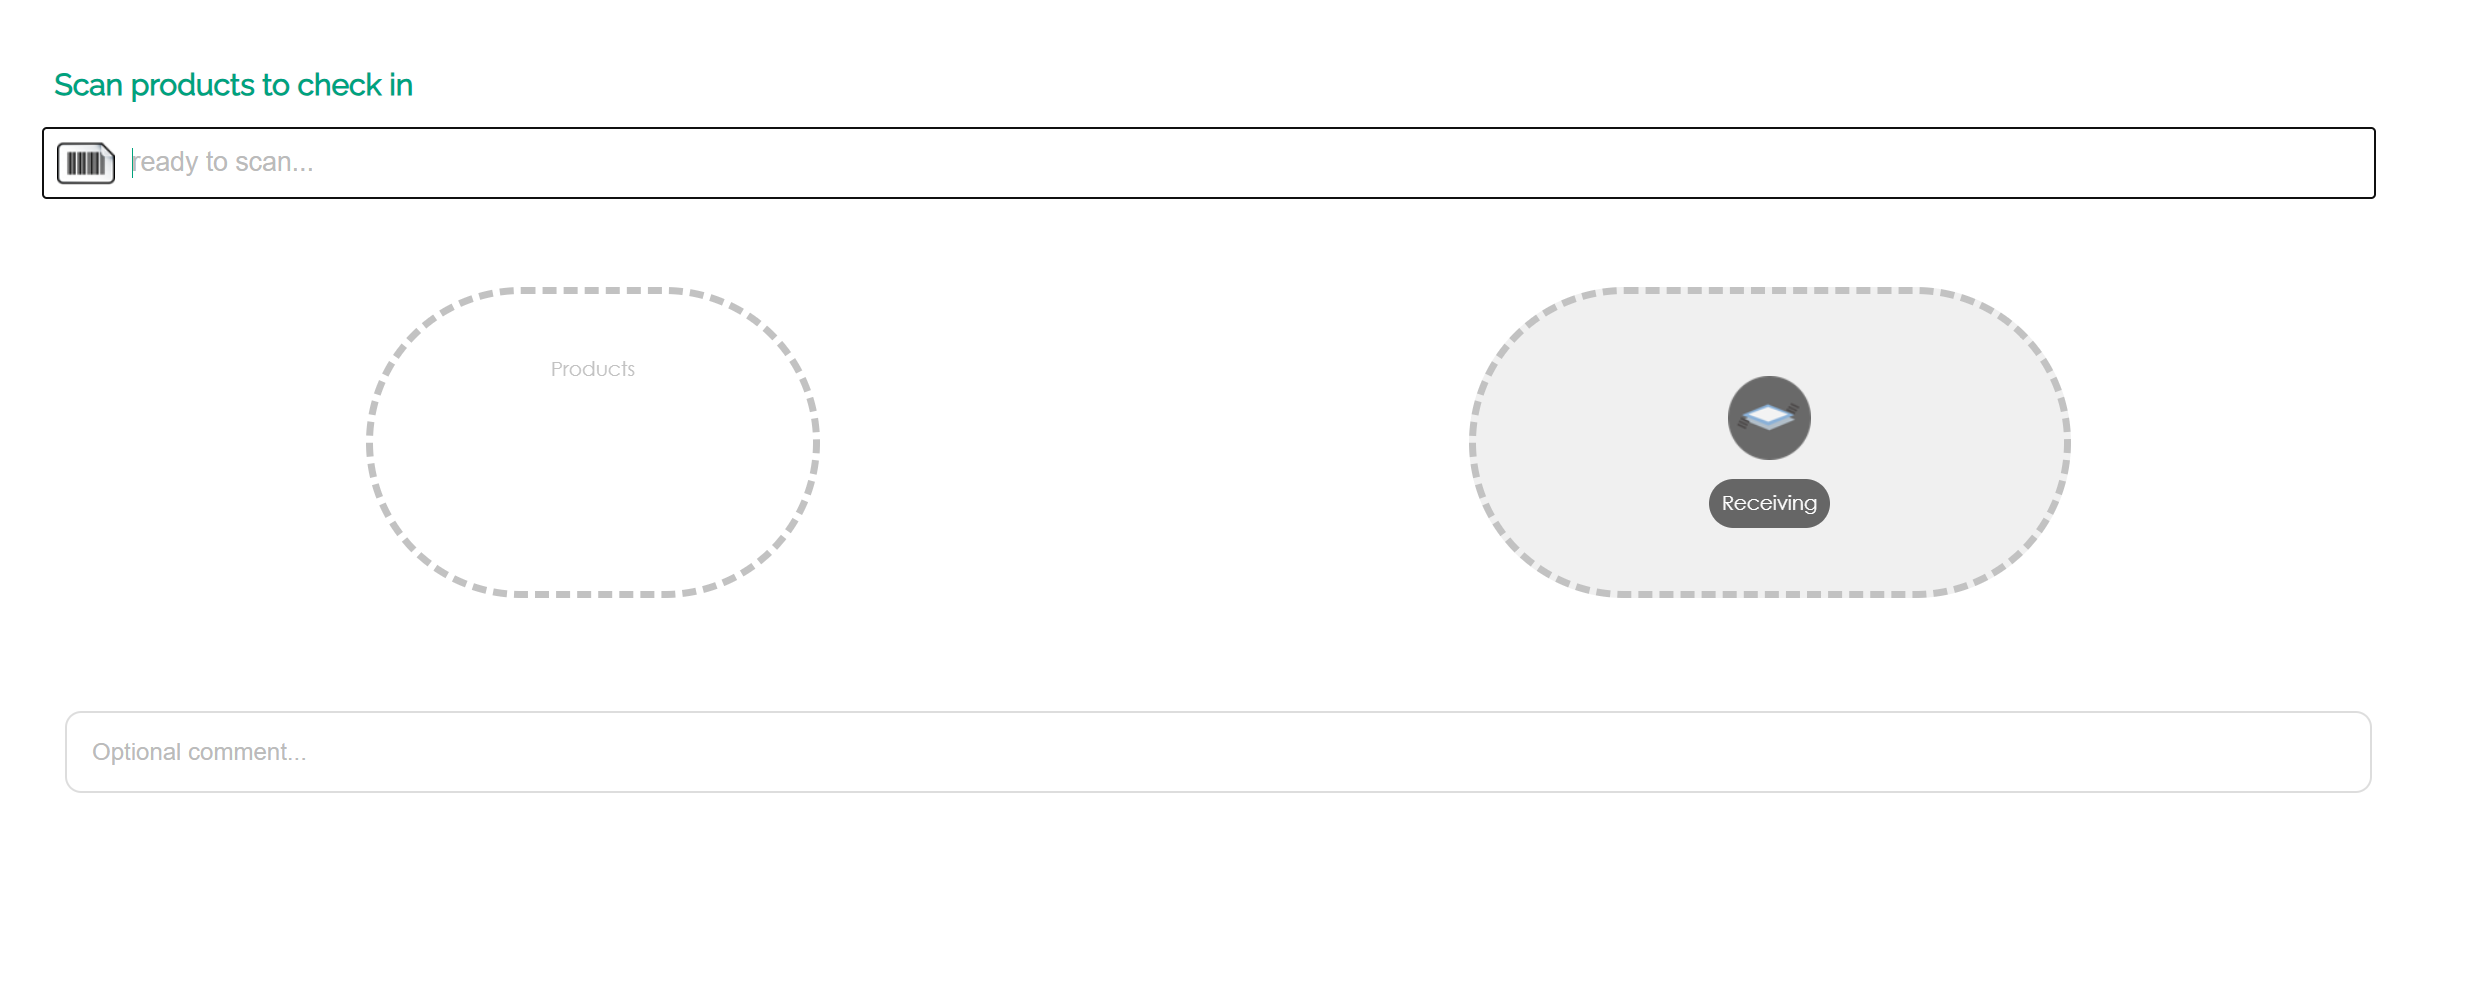
Check out kiosk