What Is the CyberStockroom Inventory Map?
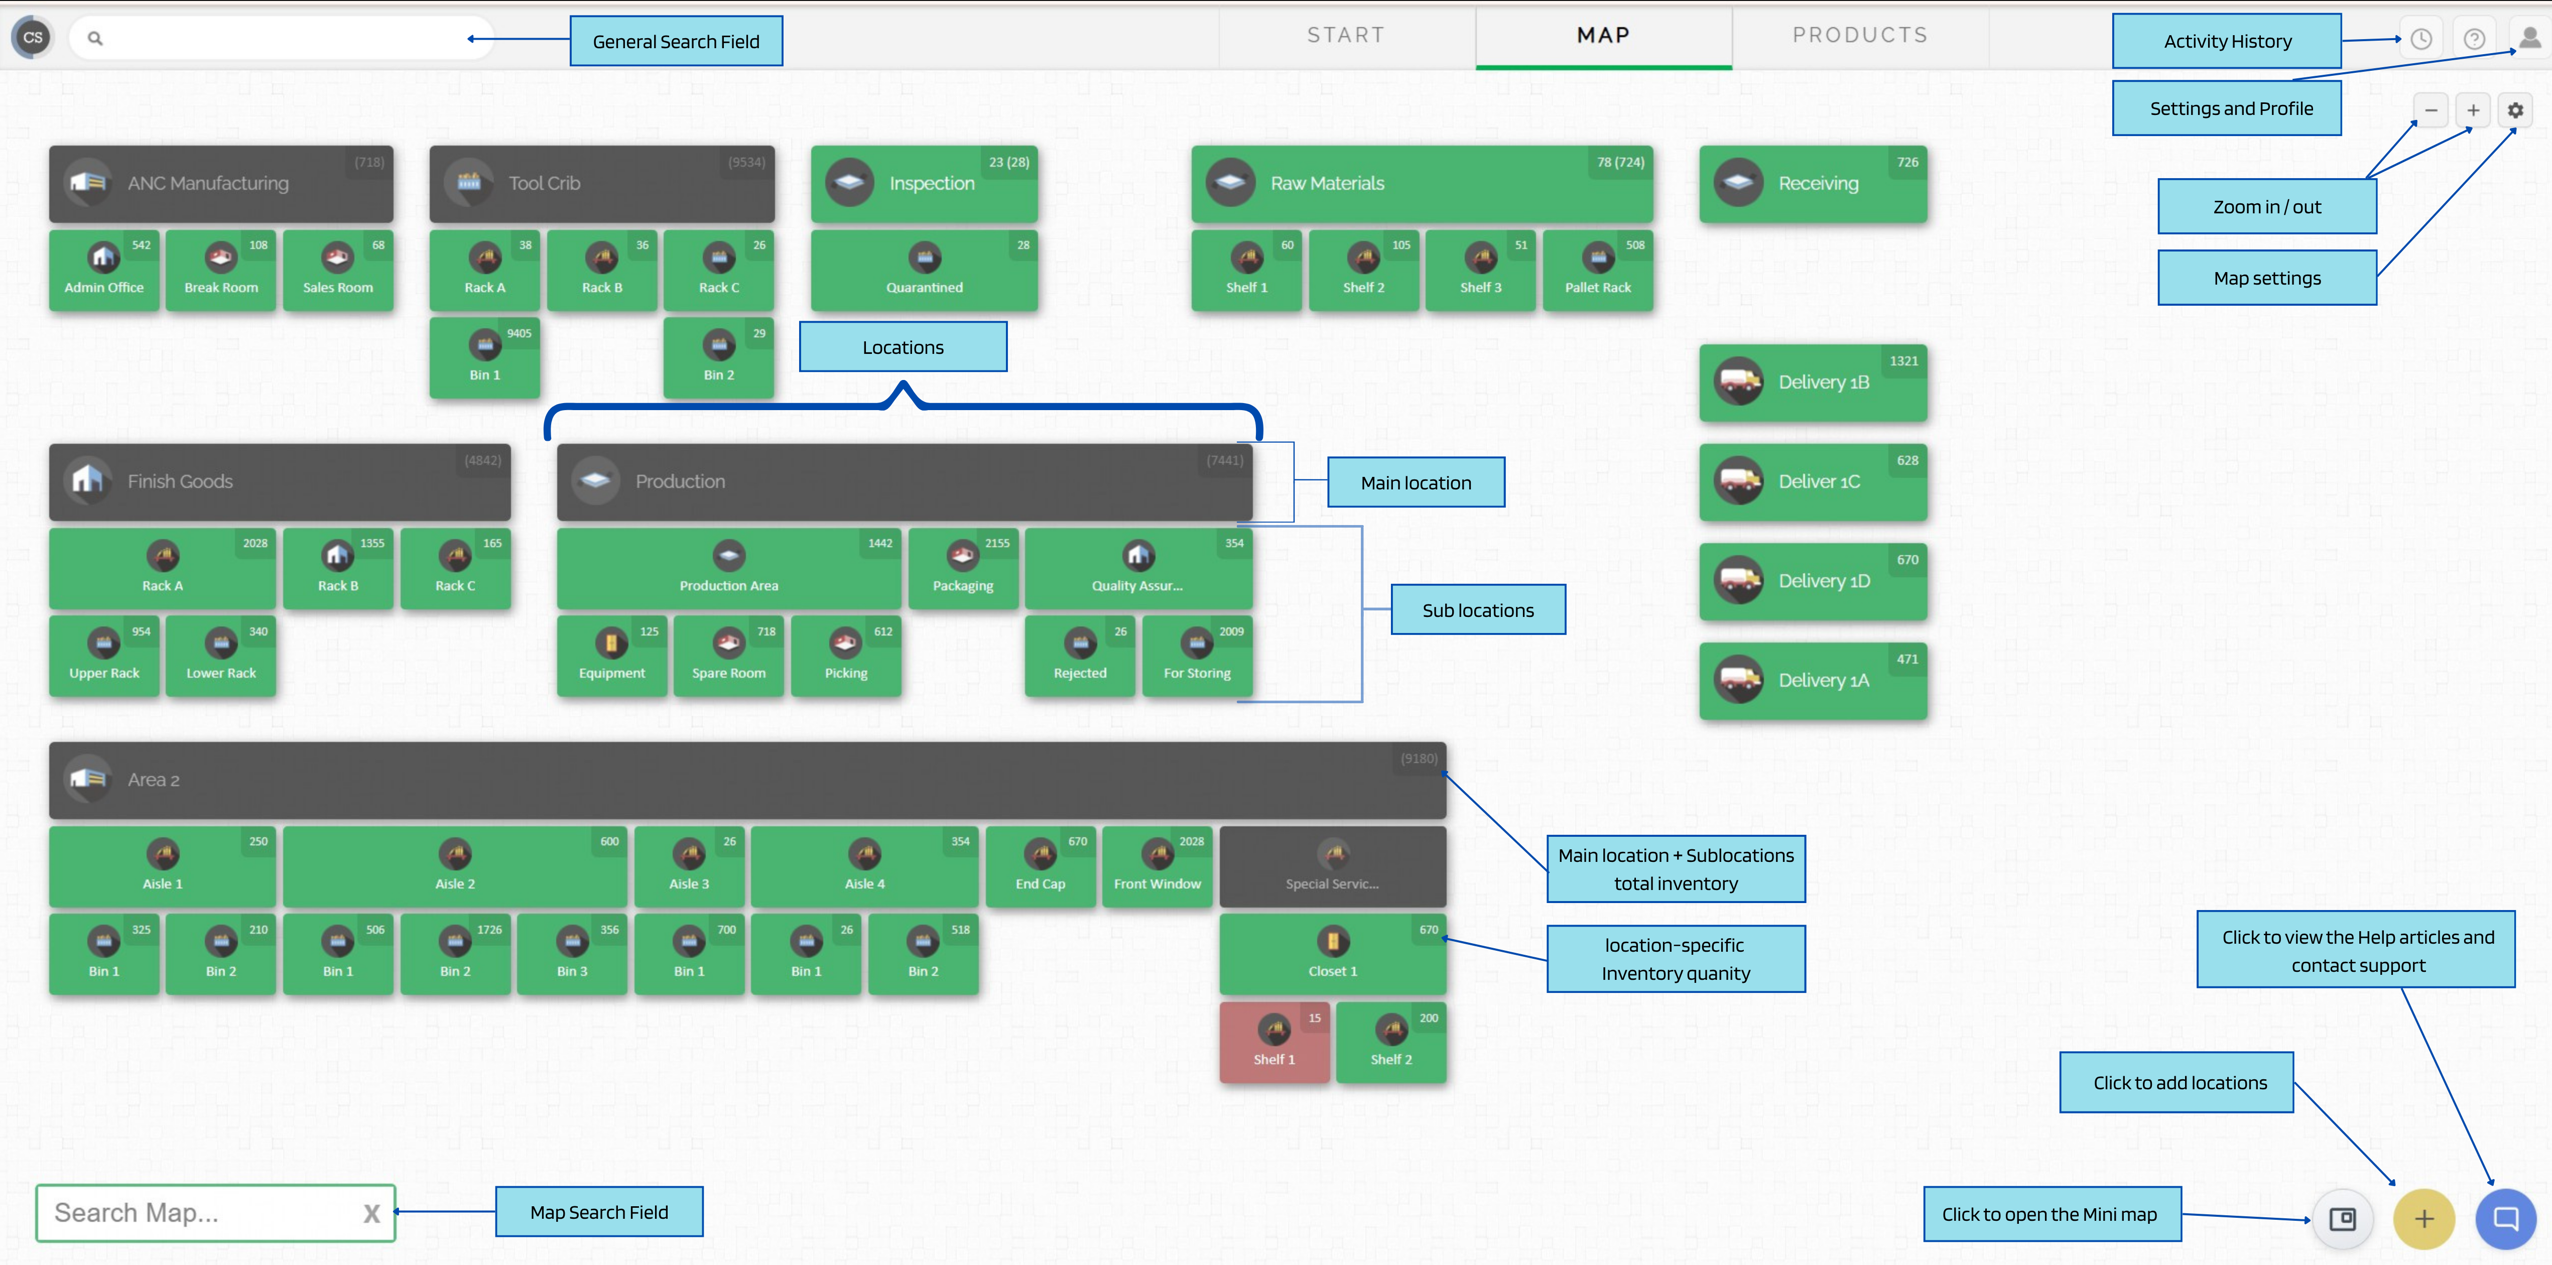
The CyberStockroom inventory map gives you a bird’s-eye view of your operation. It turns your real-world spaces, such as warehouses, storerooms, racks, bins, vehicles, departments, and job sites, into a visual layout inside the system.
Instead of searching through a long list of locations or guessing where an item might be, you can look at the map and quickly understand where inventory is stored, how locations are connected, and where stock belongs.
Parts of the Map Dashboard
Search Box
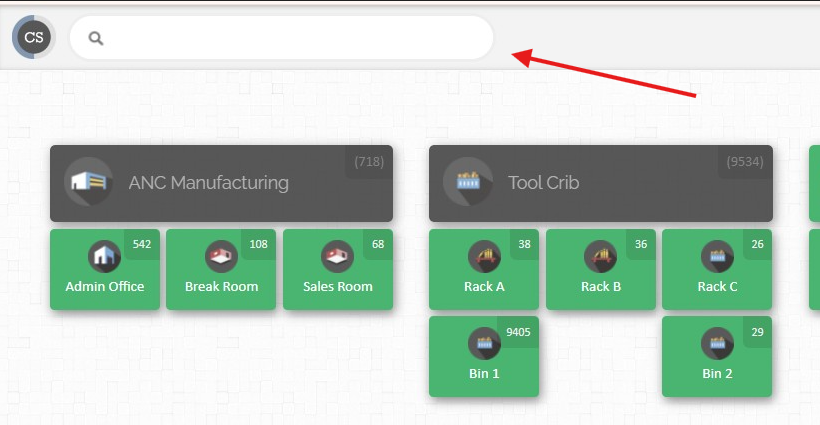
The general search field allows users to search across their catalog from the top of the screen. This is useful when users need to quickly find information without manually clicking through different sections.
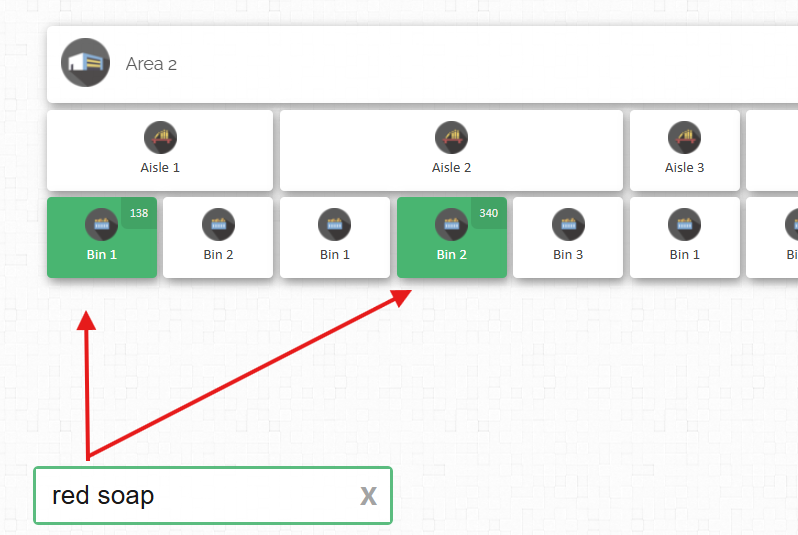
The search bar in the top left corner of the CS page can be used to quickly find products and locations. Type any keyword for a product in this search box (product number/description/any custom field), and your target product will be shown below it.
Map Search Field
The map search field is used specifically within the inventory map. You can search for a location on the map and quickly jump to the area they need. You can also search products and it will highlight the locations that contains that product. This is helpful when the map contains many warehouses, rooms, racks, bins, vehicles, or departments.
Locations
Locations are the main building blocks of the inventory map. They represent the physical places where inventory is stored, used, received, staged, or moved. A location can be a warehouse, storeroom, office, rack, shelf, bin, vehicle, production area, or job site.
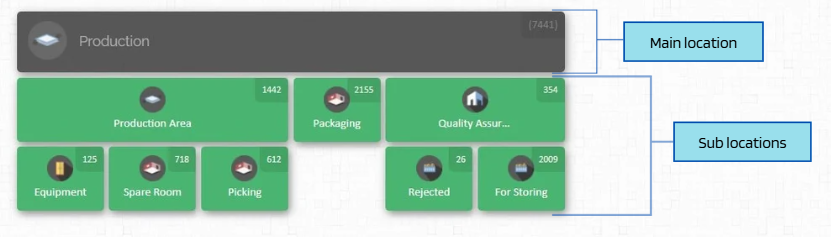
Main Locations - Main locations represent larger areas in your operation. These can be facilities, departments, warehouses, stockrooms, or major storage zones.
Sublocations - Sublocations are the smaller storage areas inside a main location. These may include racks, shelves, bins, closets, aisles, rooms, or specific work areas. Sublocations make it easier to track inventory more precisely instead of only knowing the general area where an item is stored.
Inventory Quantity
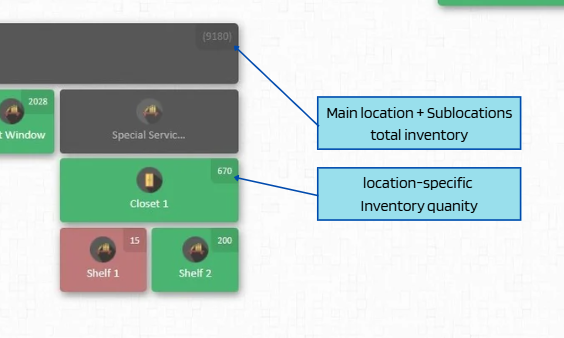
Each location can display inventory quantities, giving you a quick view of how much stock is associated with that area. This helps teams understand where inventory is concentrated and which locations may need attention.
Activity History
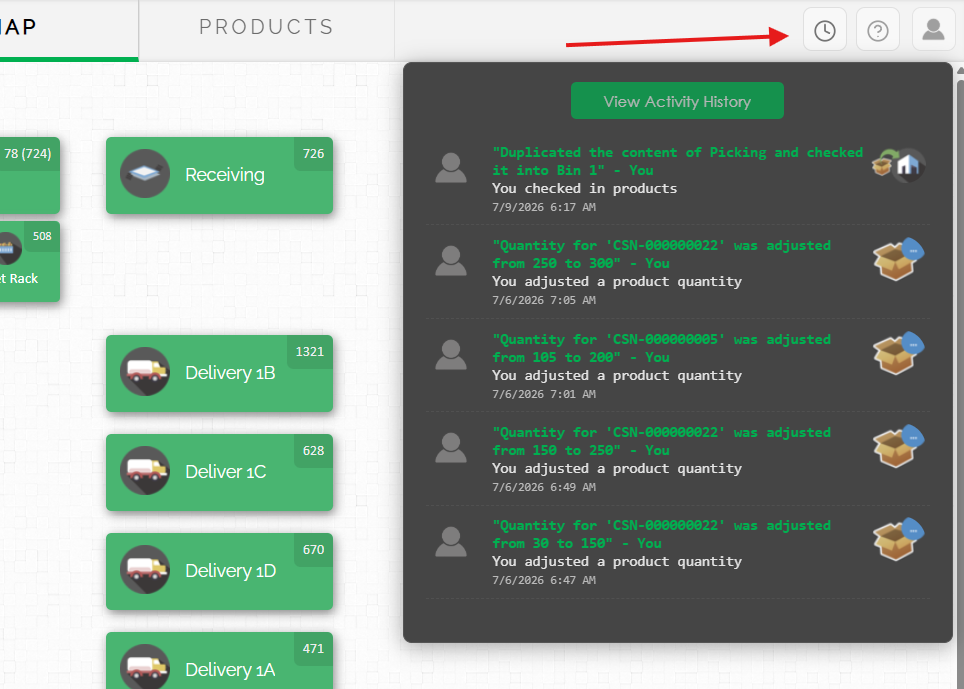
The activity history icon gives users access to recent inventory actions and transaction details. Users can review key information such as the date, time, comments, and the user who made the transaction. This helps teams track inventory movement, review changes, confirm updates, and understand what happened in the system over time.
Settings and Profile
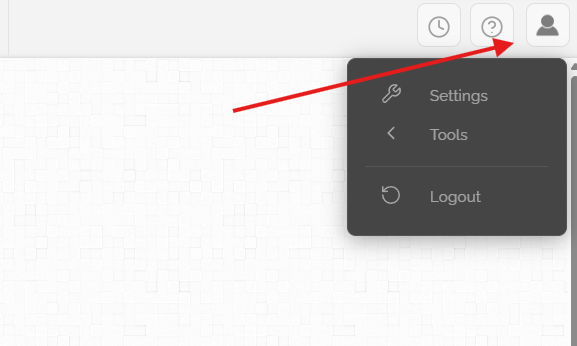
The settings and profile area gives users access to account-related options and system preferences. This is where users can manage personal settings and other settings including user limitations, expirations, inventory thresholds, subscriptions, etc.
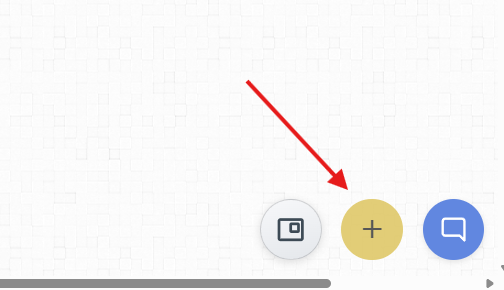
Add Locations Button
The add locations button allows users to create new locations on the map. This is useful when adding a new warehouse, rack, bin, department, vehicle, job site, or storage area to the inventory structure.
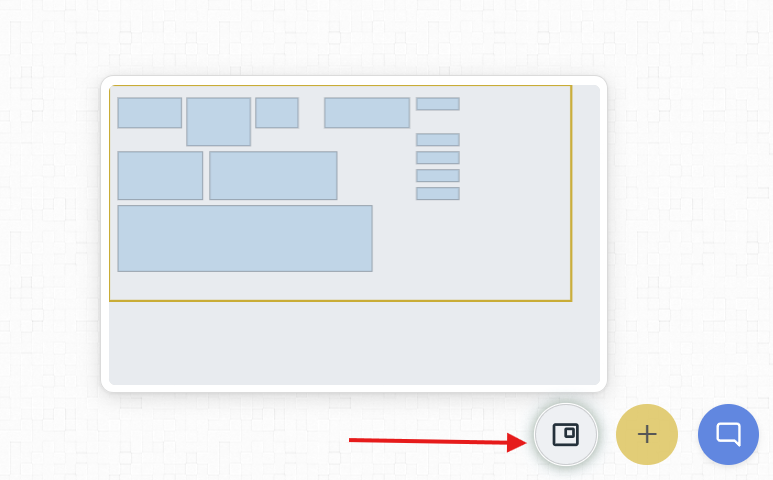
The Mini Map
The mini map gives users a smaller overview of the full map layout. It helps with navigation, especially when the inventory map is large or spread across many areas.
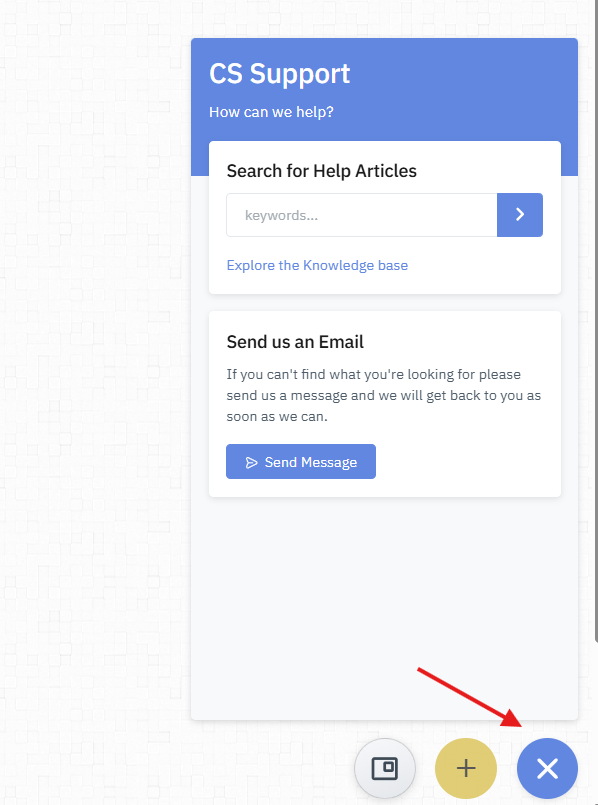
Help and Support
The help and support button gives users access to help articles and support resources. This is useful when users need guidance on how to use the map, manage locations, or troubleshoot an issue.
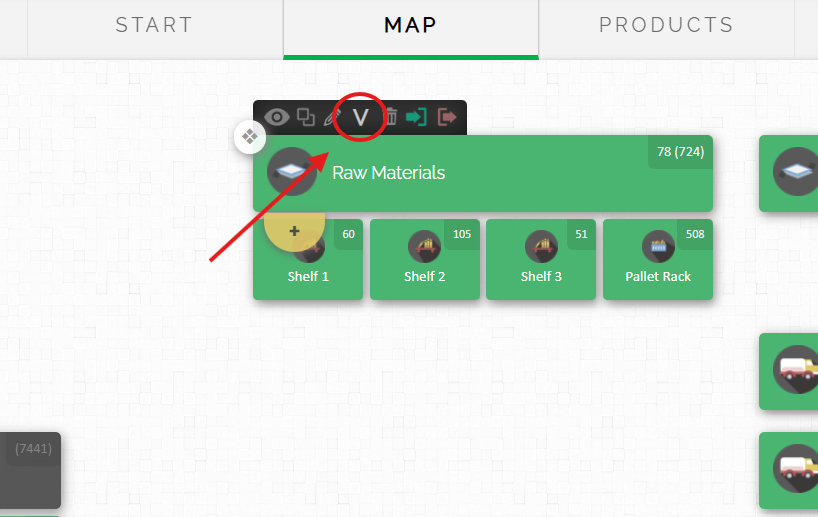
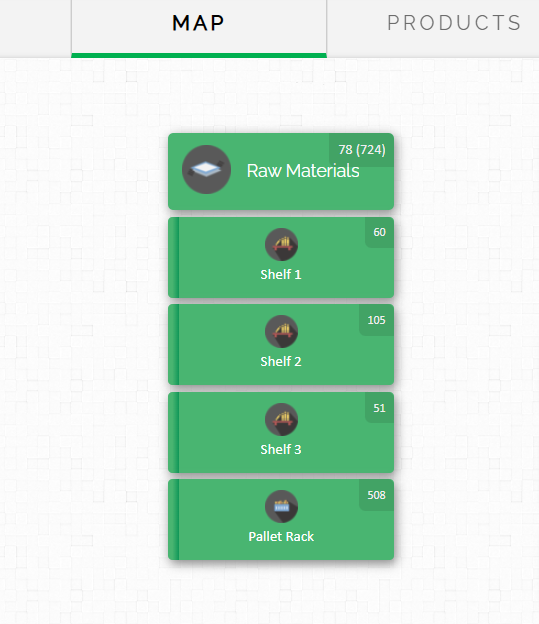
Vertical Location
Vertical location helps users visually organize storage areas that are stacked or layered, such as shelves, racks, bins, and multi-level storage spaces. Instead of showing every location in a flat layout, vertical locations make it easier to represent how inventory is arranged from top to bottom helping users identify the right shelf, level, or bin faster.
Zoom in and Zoom out
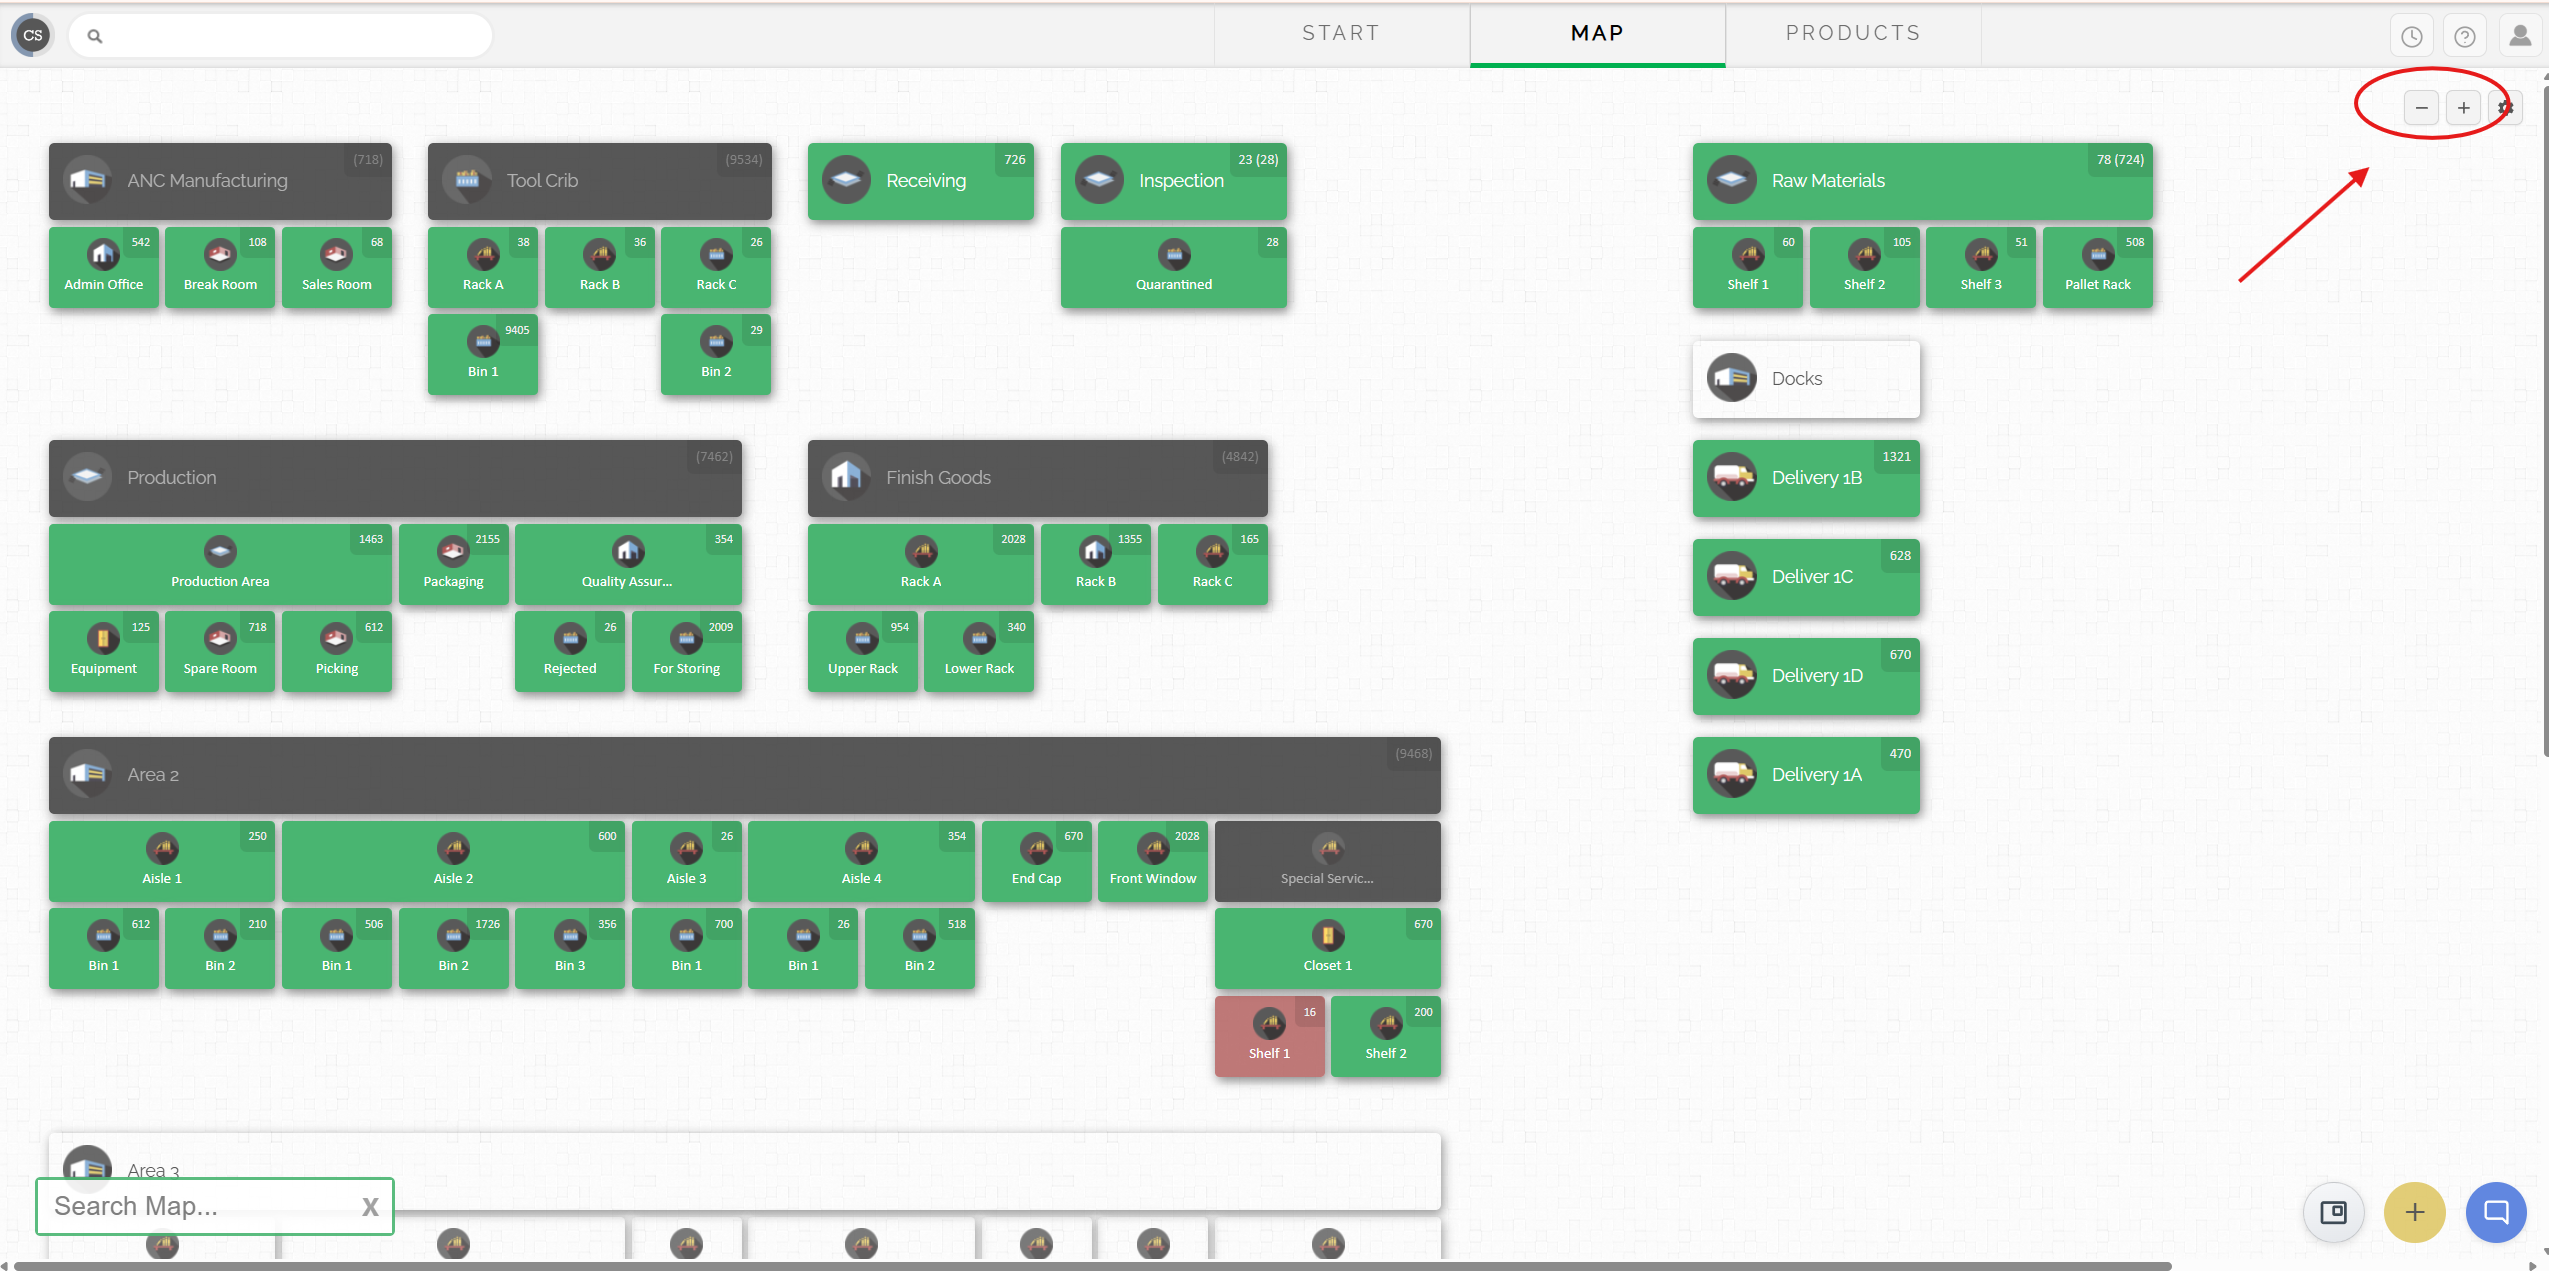
When you zoom in or out on your map, your preferred zoom level is automatically saved, even after you log out. The zoom controls are located in the upper-right corner of the map. You can also use the + and - keys on your keyboard.